
Planning a branding photoshoot can feel overwhelming, but it doesn’t have to be. After working with dozens of entrepreneurs and creative business owners, I’ve developed a streamlined checklist that ensures every session runs smoothly and delivers images you’ll actually use. Whether you’re a wellness coach, interior designer, or small business owner looking to elevate your online presence, this guide will walk you through everything you need to know to plan a successful branding photoshoot.

Step 1: Hire a Brand Photographer
This might seem obvious, but finding the right photographer for your brand is the most critical decision you’ll make in this entire process. There are so many different styles of photographers out there—from light and airy to dark and moody, editorial to candid documentary style—and it’s important to find which fits you best.
Start by browsing portfolios and paying close attention to each photographer’s editing style. Ask yourself: Does this align with my brand’s overall image? If your brand aesthetic is warm and earthy, a photographer who shoots in cool, desaturated tones probably isn’t the best match. Your branding photos should feel like a natural extension of your existing visual identity, not something that stands out as inconsistent.
Beyond the editing style, take time to read bios and reviews. You’re not just hiring someone to take photos; you’re inviting someone into your creative process. Look for photographers whose personality and working style resonate with you. Do their reviews mention how comfortable clients felt? Do they seem collaborative or more hands-off? These details matter because you’ll be spending hours together, and the energy you share will show up in your final images. If you’re considering hiring me, you can check out my reviews here.

Step 2: Communicate Your Vision
Once you’ve found your photographer, it’s time to get clear on what you actually want from this shoot. In order to get the most out of your session, you need to communicate your vision clearly and collaboratively.
If you work with a website designer or branding expert, looping them into the conversation is extremely helpful. This ensures cohesion across all your brand touchpoints. Your photographer, designer, and any other creatives on your team should be on the same page about color palettes, mood, and the overall vibe you’re going for.
Pinterest is a game-changer for this step. I’ve found it helps so many of my clients clarify their vision, even when they struggle to put it into words. I allow clients to link their Pinterest boards directly in my questionnaire, and it gives me invaluable insight into what they’re drawn to. Whether it’s specific poses, lighting styles, outfit inspiration, or prop ideas, those boards help us create a shared visual language before we ever step in front of the camera.
Don’t be afraid to over-communicate here. Share your must-have shot list, your content pillars, where you plan to use these images (website, social media, email marketing), and any specific products or services you want to highlight. The more your photographer knows, the better they can deliver.
Step 3: Pick Your Location
Location sets the tone for your entire shoot, so choose thoughtfully. Many people opt for their place of business or home for their first branding session, and that can be a great choice—especially if your space reflects your brand aesthetic or you want to show clients where the magic happens.
But don’t feel limited to the obvious choices. If you work from a coffee shop regularly, that might be the perfect backdrop to show the reality of your daily routine. If you want more control over the environment or prefer a blank canvas, check out local studios in your area.
I personally love using Coastal Creative Studios in Huntington for my brand sessions. It’s a beautifully designed space with multiple backdrops and tons of natural light in the front, which makes it incredibly versatile for different brand aesthetics. Another fantastic resource is Peerspace, where you can browse and rent unique locations by the hour—everything from modern lofts to cozy libraries to sun-drenched gardens. The options are truly endless, and renting a curated space can elevate your imagery without the stress of staging your own location.
Your photographer likely has recommendations based on what they know works well on camera, so don’t hesitate to ask for their input during the planning process.

Step 4: Hair and Makeup
Here’s the truth: Hiring a professional hair and makeup artist can make a dramatic difference in how polished and confident you look in your final images. If your budget allows, I highly recommend it. If you’re on Long Island, I highly recommend seeing Kait Rose Beauty for makeup and getting a blowout from Brianna Gloria Salon.
That said, I understand it’s not always feasible for everyone. If you’re planning to do your own hair and makeup, I strongly suggest doing a trial run at least a week before your shoot. Take photos in natural light to see how everything translates on camera
Step 5: Create a Packing List
This is where the magic happens—or where things can fall apart if you’re not prepared. A few days before your shoot, sit down and create a comprehensive packing list.
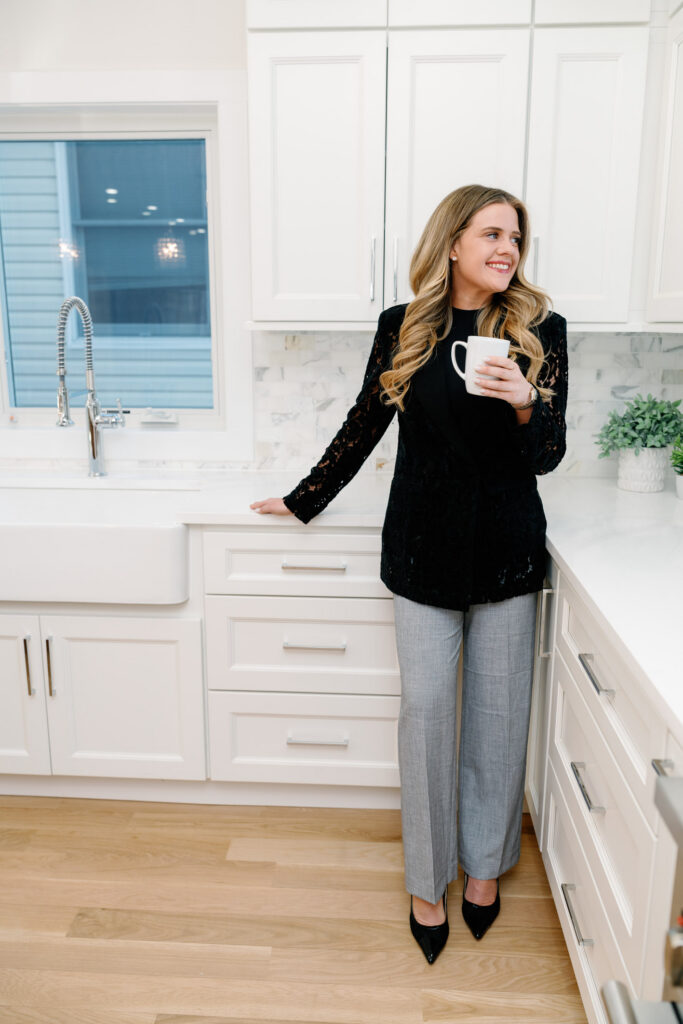
Start with your outfits. Pick pieces that not only fit your brand aesthetic but also make you feel confident and comfortable. Bring at least two to three outfit changes, even for a shorter session. You never know which look will photograph best until you see it on camera.
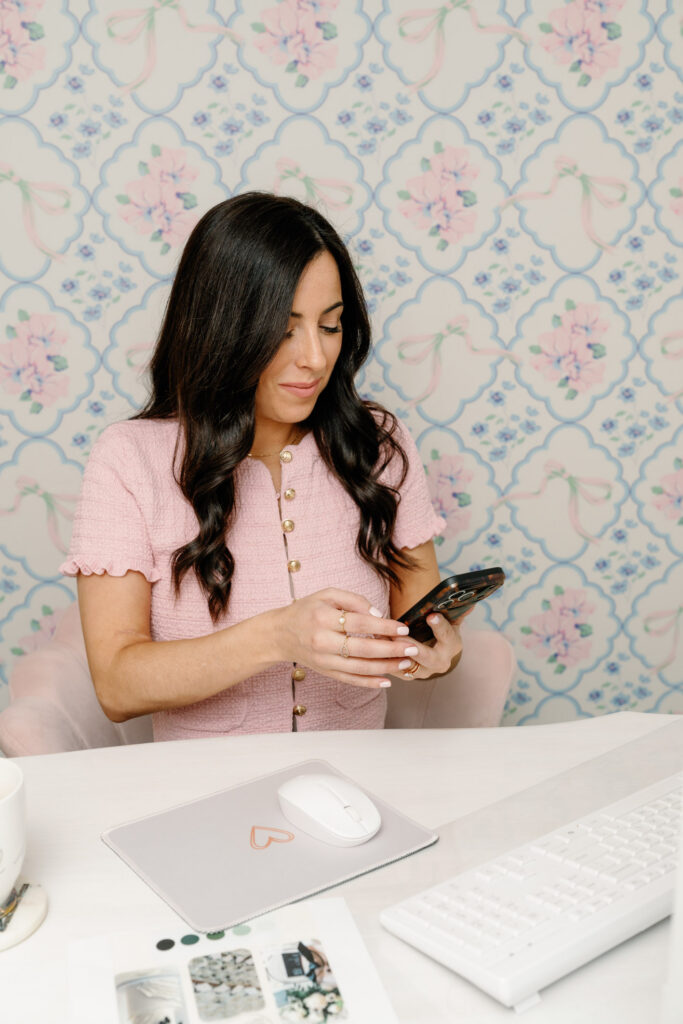
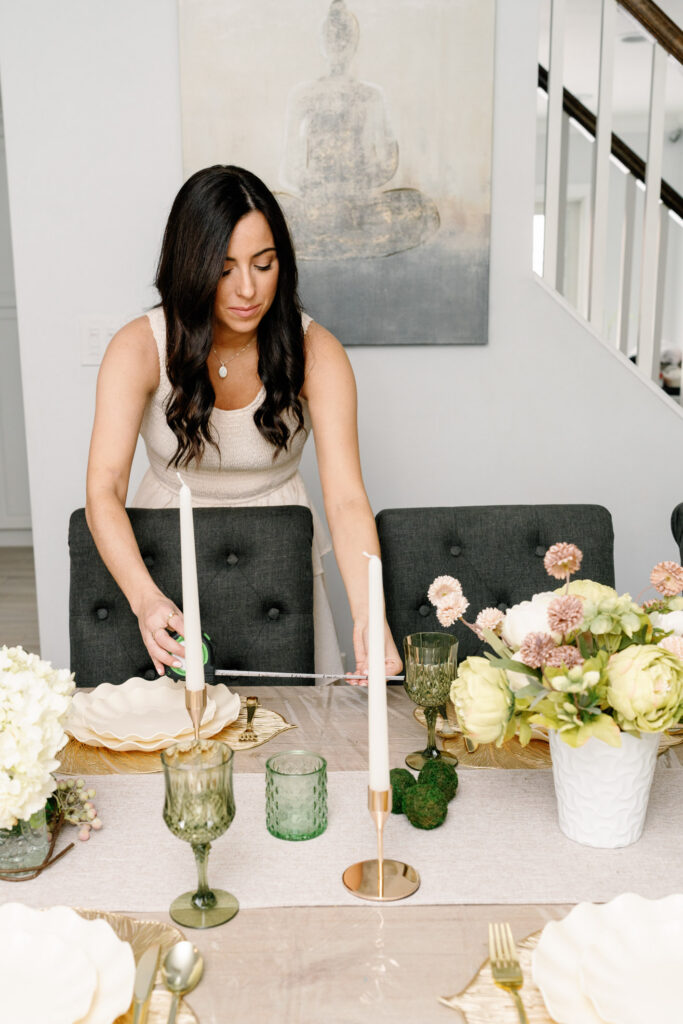
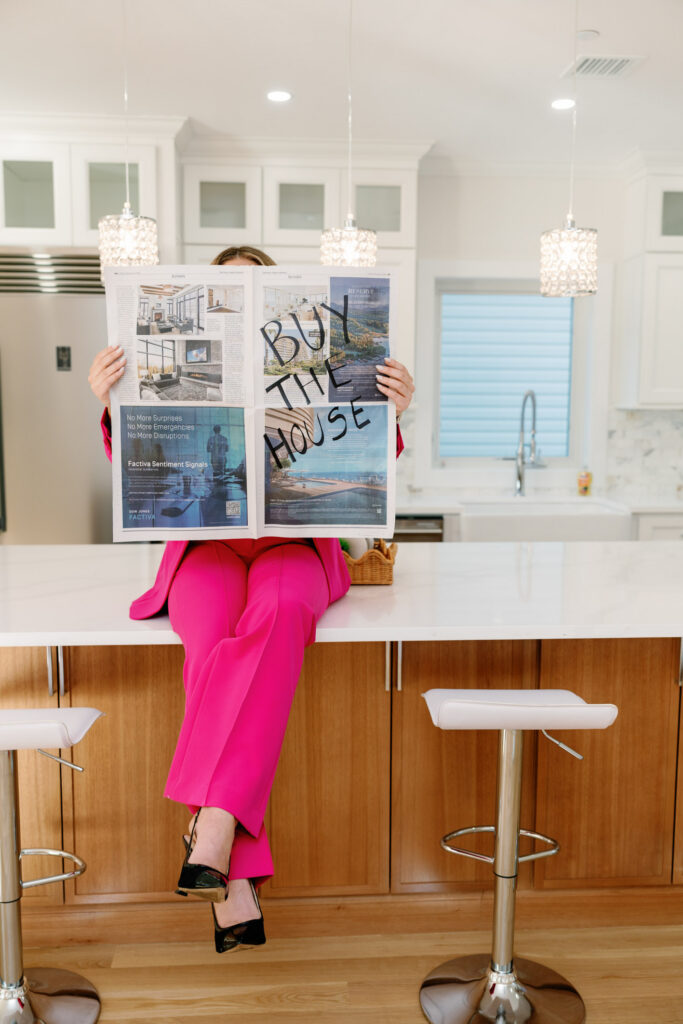
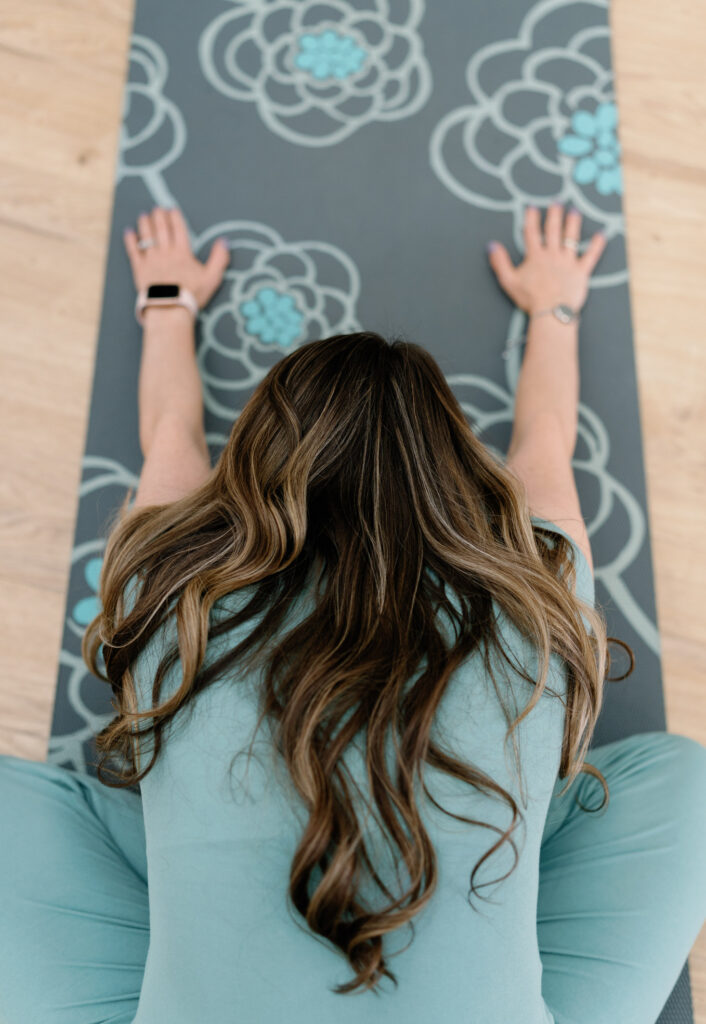
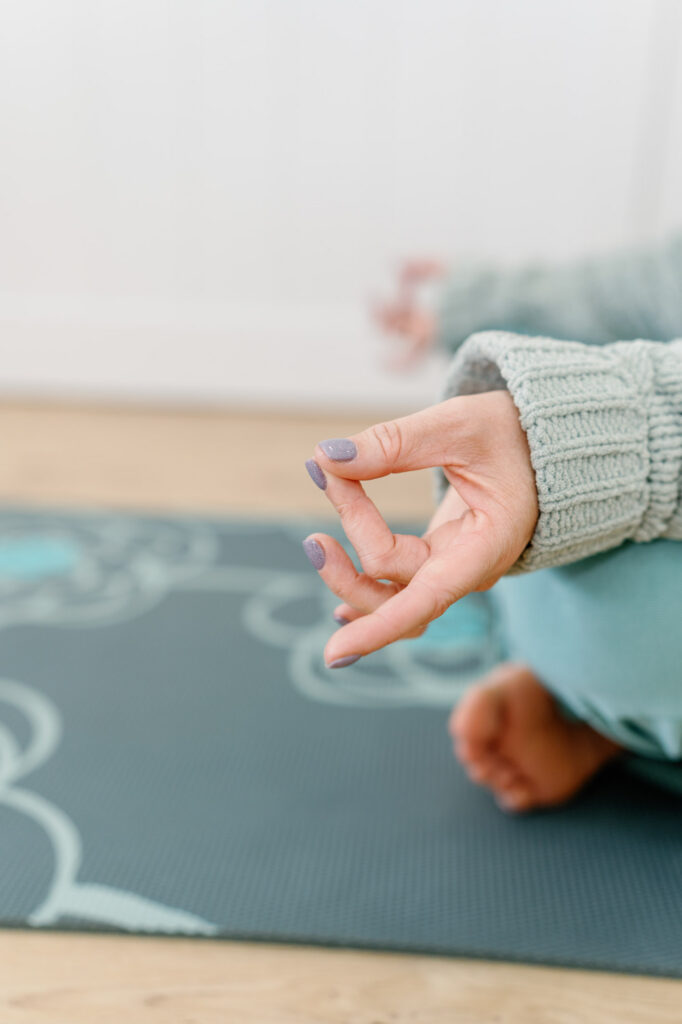
Next, think about the tools of your trade. What do you use every day in your business? If you’re a calligrapher, bring your favorite pens and paper. If you’re a wellness coach, maybe it’s your yoga mat, essential oils, or a journal. If you run an e-commerce shop, bring your best-selling products. These props tell your brand’s story in a way that generic stock photos never could.
Ask yourself: What actions do I take every day? What tech or equipment could my audience use some education on? If you regularly host Zoom calls, bring your laptop. If you’re always creating content on your phone, make sure it’s charged and ready to be a prop. These everyday items add authenticity and help potential clients envision working with you.

Step 6: Plan Your Content Strategy
This final step is what separates a good branding shoot from a great one. Before your session, think strategically about how you’ll actually use these photos.
Consider your content buckets: What topics do you talk about most on social media? What services do you want to highlight on your website? Are there specific campaigns or launches coming up that need visual support? By identifying these needs ahead of time, you can maximize your shoot time and ensure you’re capturing content you’ll genuinely use.
Think about variety in composition and styling. You want your photo gallery to feel cohesive but not repetitive. Varying your background, outfit, expression, and activity level will give you a robust library of images that can carry you through months of content creation.
Finally, discuss your timeline with your photographer. When will you receive your images? How many edited photos are included in your package? Understanding the delivery process helps you plan your content calendar accordingly.
Branding Photoshoot Ideas From a Lifestyle Brand Photographer
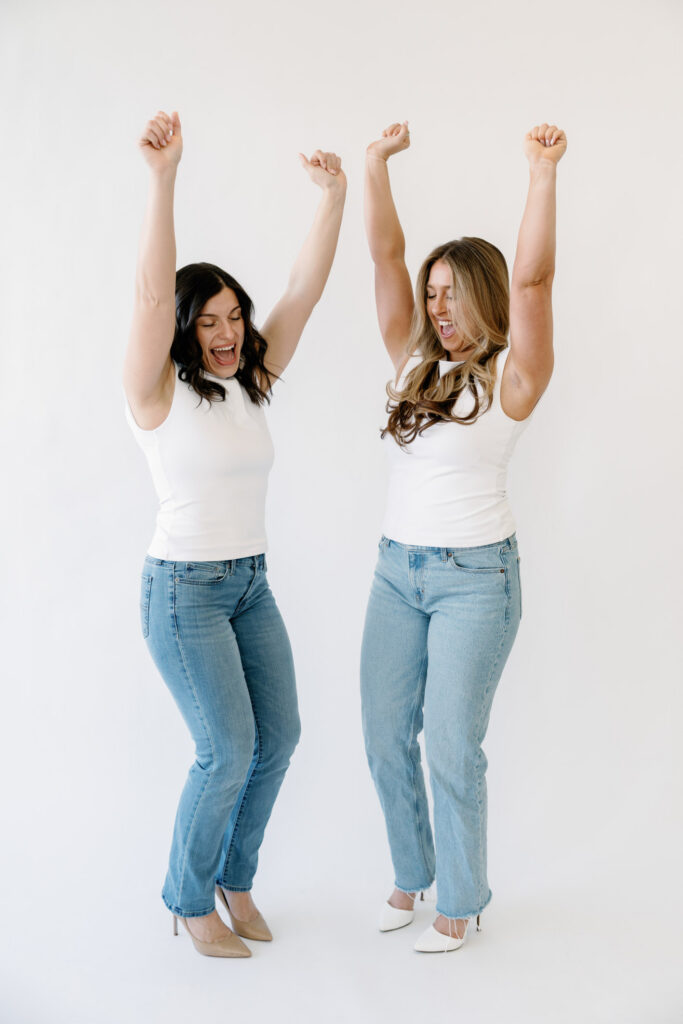
The difference between showing up and hoping for the best versus planning strategically is night and day. When you invest time in each of these six steps, you set yourself up for a session that feels organized, intentional, and aligned with your brand vision.
Ready to Elevate Your Brand with Stunning Imagery?
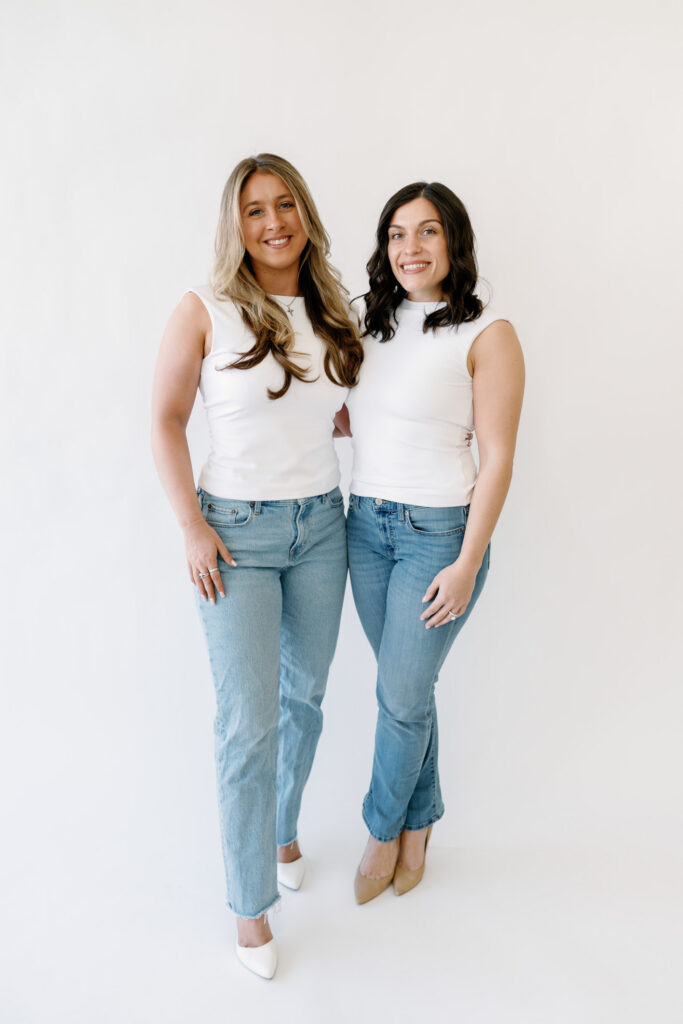
As a lifestyle brand photographer, my goal is to capture the authentic essence of your business through captivating imagery and thoughtful composition.
If this approach resonates with you, I’d love to chat about your photography needs and how I can help bring your brand vision to life. Click here to view my pricing guide and here to inquire with me.


